
Key Features of Vokoscreen
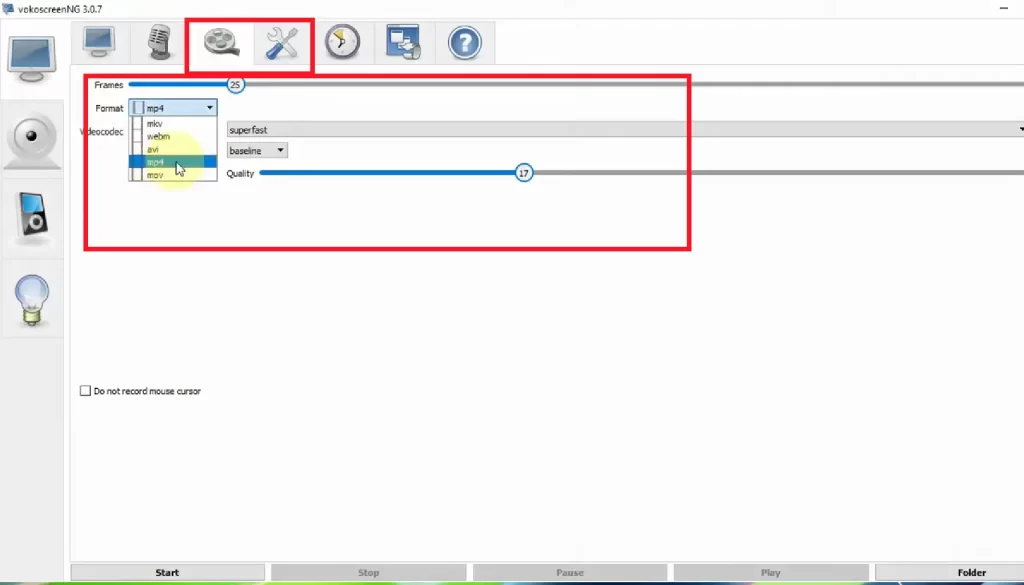
Multiple Formats: Vokoscreen supports various video file formats, including MP4, AVI, MKV, and WEBM. This versatility ensures that your recordings can be easily shared on different devices.
Pause and Resume: During a recording session, you can pause and resume the recording at any time. This feature helps in creating seamless videos without the need for extensive editing.
Webcam Integration: For those who need to include their webcam feed in the recording, Vokoscreen offers webcam integration. This is ideal for video presentations, vlogging.
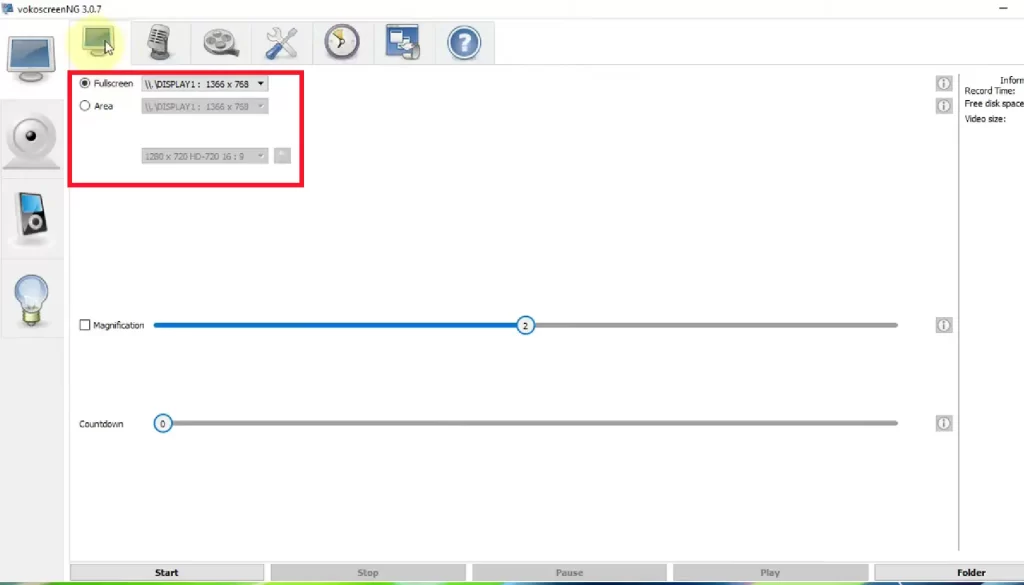
Area Selection: Vokoscreen allows you to choose the specific area of your screen you want to record. You can select the entire screen, a particular window, or a custom-defined area, providing flexibility for different recording scenarios.
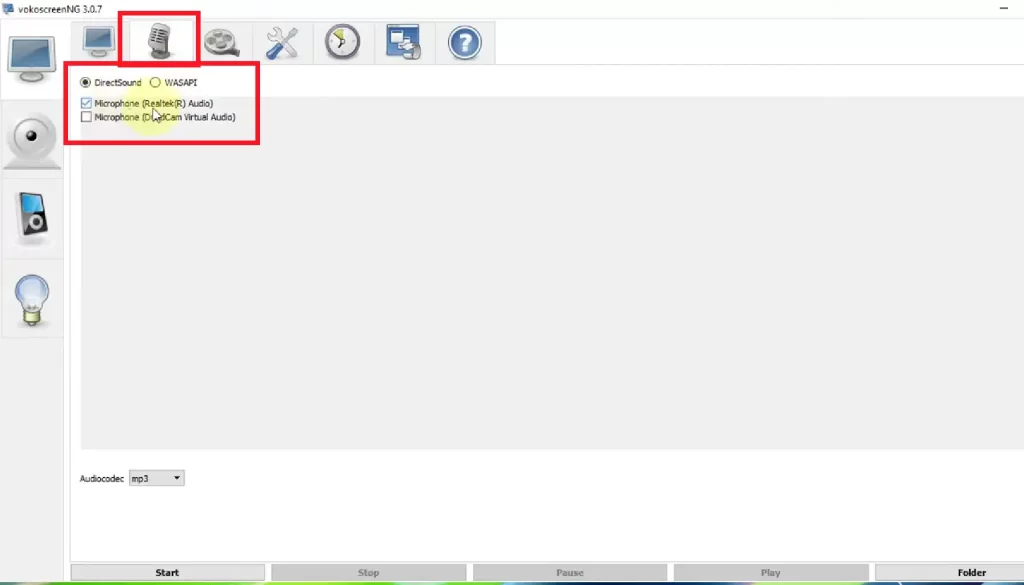
Audio Recording: The software supports audio recording from multiple sources. You can capture sound from your microphone, system audio, or both simultaneously. This feature is particularly useful for creating tutorials
User-Friendly Interface: Vokoscreen boasts an intuitive and straightforward interface, making it accessible to both novice and experienced users. The easy-to-navigate menus a smooth recording experience.
Applications of Vokoscreen
- ✅Educational Content: Teachers and educators can use Vokoscreen to create engaging instructional videos and tutorials, making it easier for students to understand complex topics.
- ✅Software Demonstrations: Developers and tech enthusiasts can record software demonstrations and walkthroughs, showcasing the features and functionalities of various applications.
- ✅Presentations: Professionals can use Vokoscreen to record presentations, webinars, and other business-related content for later viewing or sharing with colleagues.
- ✅Gaming: Gamers can capture their gameplay sessions, create game reviews, or share tips and tricks with their audience.
How to Install Vokoscreen?
Installing Vokoscreen is a straightforward process. Follow the steps below to get Vokoscreen up and running on your system.
For Linux
- Using the Package Manager:
- Debian/Ubuntu-based distributions:
- Open the terminal.
- Update your package list:
sudo apt update - Install Vokoscreen:
sudo apt install vokoscreen-ng
- Fedora:
- Open the terminal.
- Install Vokoscreen:
sudo dnf install vokoscreenNG
- Arch Linux:
- Open the terminal.
- Install Vokoscreen:
sudo pacman -S vokoscreen
- Debian/Ubuntu-based distributions:
- Using Snap:
- Open the terminal.
- Install Snap if it is not already installed:
sudo apt install snapd - Install Vokoscreen using Snap:
sudo snap install vokoscreen-ng
For Windows
- Download the Installer:
- Visit the official Vokoscreen website or the GitHub release page to download the latest Windows installer.
- Run the Installer:
- Locate the downloaded installer file (
vokoscreenNG-setup.exe) in your Downloads folder. - Double-click the installer file to launch the installation wizard.
- Locate the downloaded installer file (
- Follow the Installation Wizard:
- Click “Next” to proceed through the installation steps.
- Accept the license agreement and choose the installation directory.
- Click “Install” to begin the installation process.
- Once the installation is complete, click “Finish” to exit the wizard.
- Launch Vokoscreen:
- After installation, you can launch Vokoscreen from the Start menu or by double-clicking the desktop shortcut if you chose to create one during the installation process.
How to Use Vokoscreen?
Using Vokoscreen is intuitive and user-friendly. Here is a step-by-step guide to help you get started with recording your screen.
1. Launch Vokoscreen
- Linux: Open your application menu, search for “Vokoscreen,” and click to launch.
- Windows: Click on the Start menu, search for “Vokoscreen,” and click to open the application.
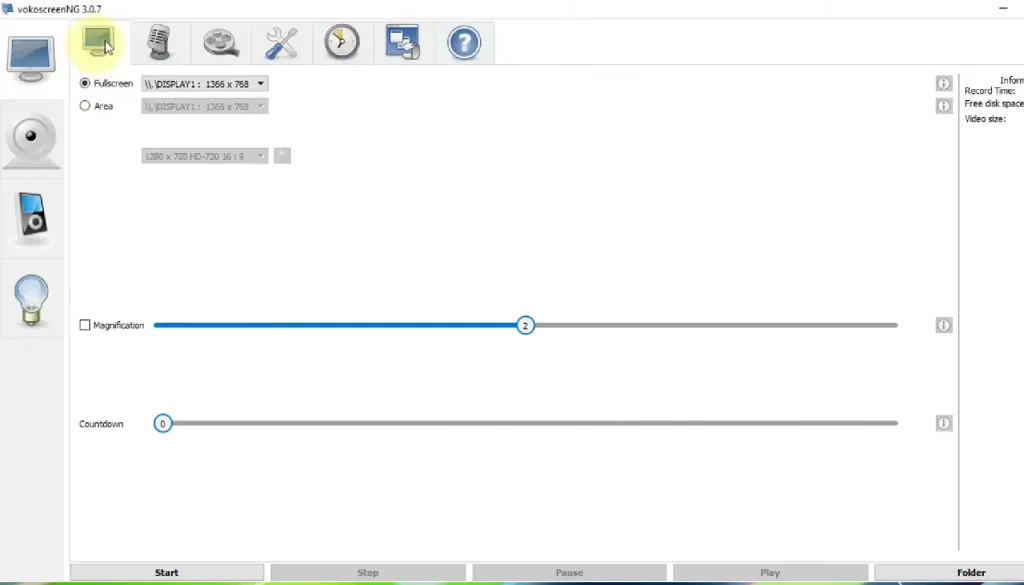
2. Select the Recording Area
- Entire Screen: To record the entire screen, click the “Full screen” button.
- Window: To record a specific window, click the “Window” button and then select the window you want to capture.
- Custom Area: To record a custom area, click the “Area” button. You will then be able to draw a rectangle around the area you want to record.
3. Configure Audio Settings
- Microphone: To record audio from your microphone, select the microphone input in the audio settings.
- System Audio: To record system audio, ensure the system audio option is enabled.
- Both: You can also record both microphone and system audio simultaneously by selecting both options.
4. Additional Settings
- Webcam Integration: If you want to include your webcam feed in the recording, enable the webcam option and position the webcam window as needed.
- Frame Rate: Choose the desired frame rate for your recording (e.g., 30 fps or 60 fps) from the settings menu.
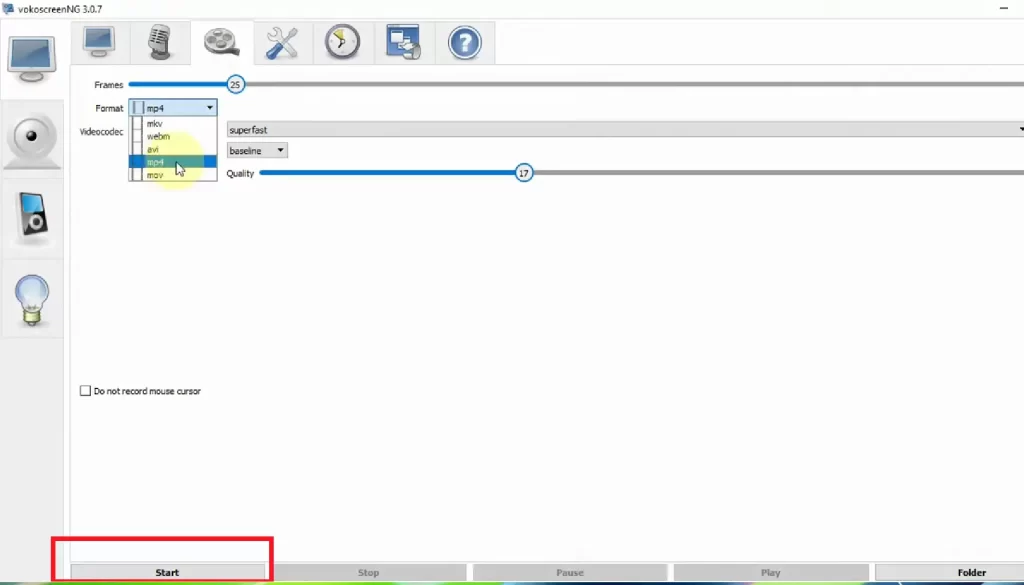
- Output Format: Select the preferred output format for your video (e.g., MP4, AVI, MKV).
5. Start Recording
- Click the “Start” button to begin recording. Vokoscreen will start capturing your screen based on the selected area and audio settings.
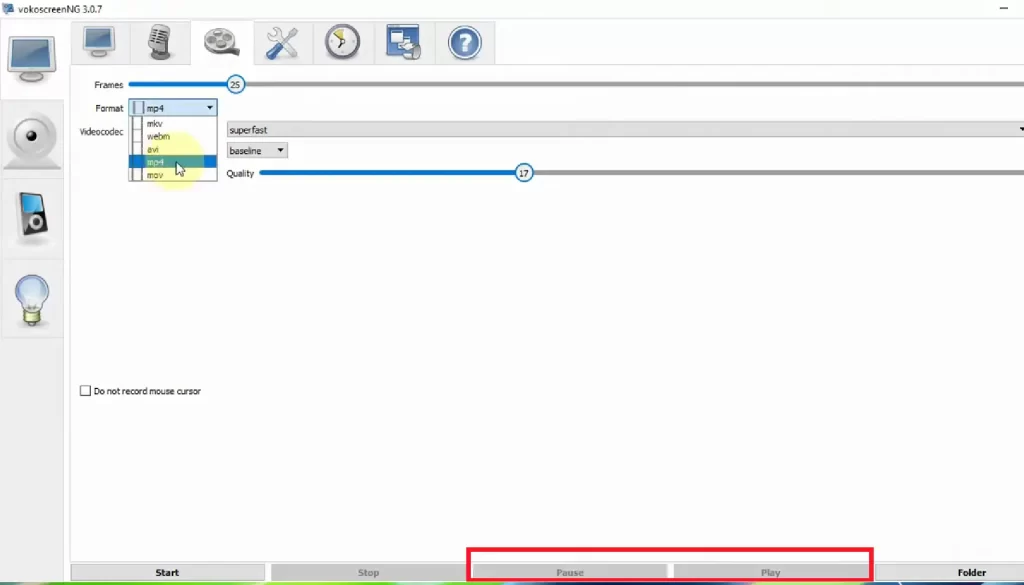
6. Pause and Resume
- If you need to pause the recording, click the “Pause” button. You can resume recording by clicking the “Resume” button.
7. Stop Recording
- Once you have finished recording, click the “Stop” button. Vokoscreen will save the recording to the designated output folder.

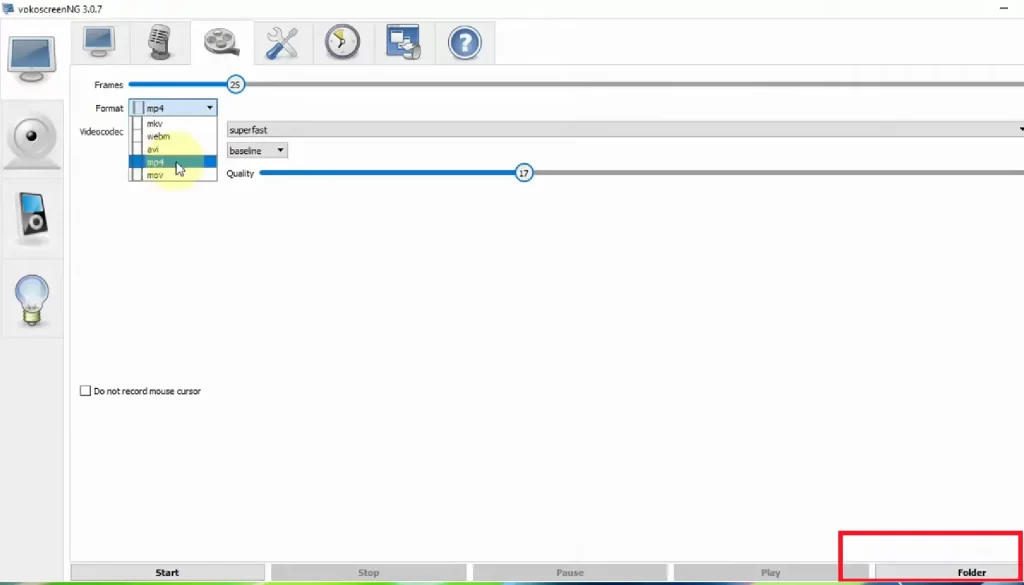
8. Accessing Your Recordings
- Navigate to the output folder specified in the settings to find your recorded videos. The default location is usually set in the Vokoscreen settings, but you can change it to a preferred directory.
9. Reviewing and Editing
- Use your preferred video player to review the recordings. For editing, you can use video editing software to trim, cut, or enhance your recordings as needed.
Tips for Effective Recording
- ✅Plan Your Recording: Outline what you want to capture and any key points you need to cover.
- ✅Check Audio Levels: Ensure that your microphone and system audio levels are correctly set to avoid any distortion or low volume.
- ✅Minimize Distractions: Close unnecessary applications and notifications to avoid interruptions during recording.
- ✅Practice: Do a few trial recordings to get comfortable with the software and ensure everything works as expected.
By following these steps and tips, you can effectively use Vokoscreen to create high-quality screen recordings for various purposes. Enjoy your recording experience!